

Assembling machines, whether it's a simple household appliance or a complex industrial equipment, requires precision, understanding, and a systematic approach. This guide provides a generic overview of the steps and best practices involved in the assembly of machines. While every machine is unique, these general principles can be applied broadly to ensure a safe and effective assembly process.
1. Preparation and Planning
a. Understanding the Manual: Before embarking on the assembly, thoroughly read the manufacturer’s manual. It will provide specific steps, cautions, and perhaps some tips.
b. Tools: Ensure you have all the required tools. Typically, a manual will list the necessary tools. Common tools might include screwdrivers, wrenches, hammers, pliers, and measuring tapes.
c. Space: Choose a spacious, well-lit area to work in. This allows for organization and prevents parts from getting lost.
2. Safety First
a. Protective Wear: Depending on the machine, you might need gloves, safety glasses, ear protection, or even steel-toed boots.
b. Power Precautions: If your machine operates on electricity, avoid plugging it in until the assembly is complete.
c. Work with a Buddy: Some parts might be heavy or tricky to assemble solo. Having a second pair of hands can prevent accidents.
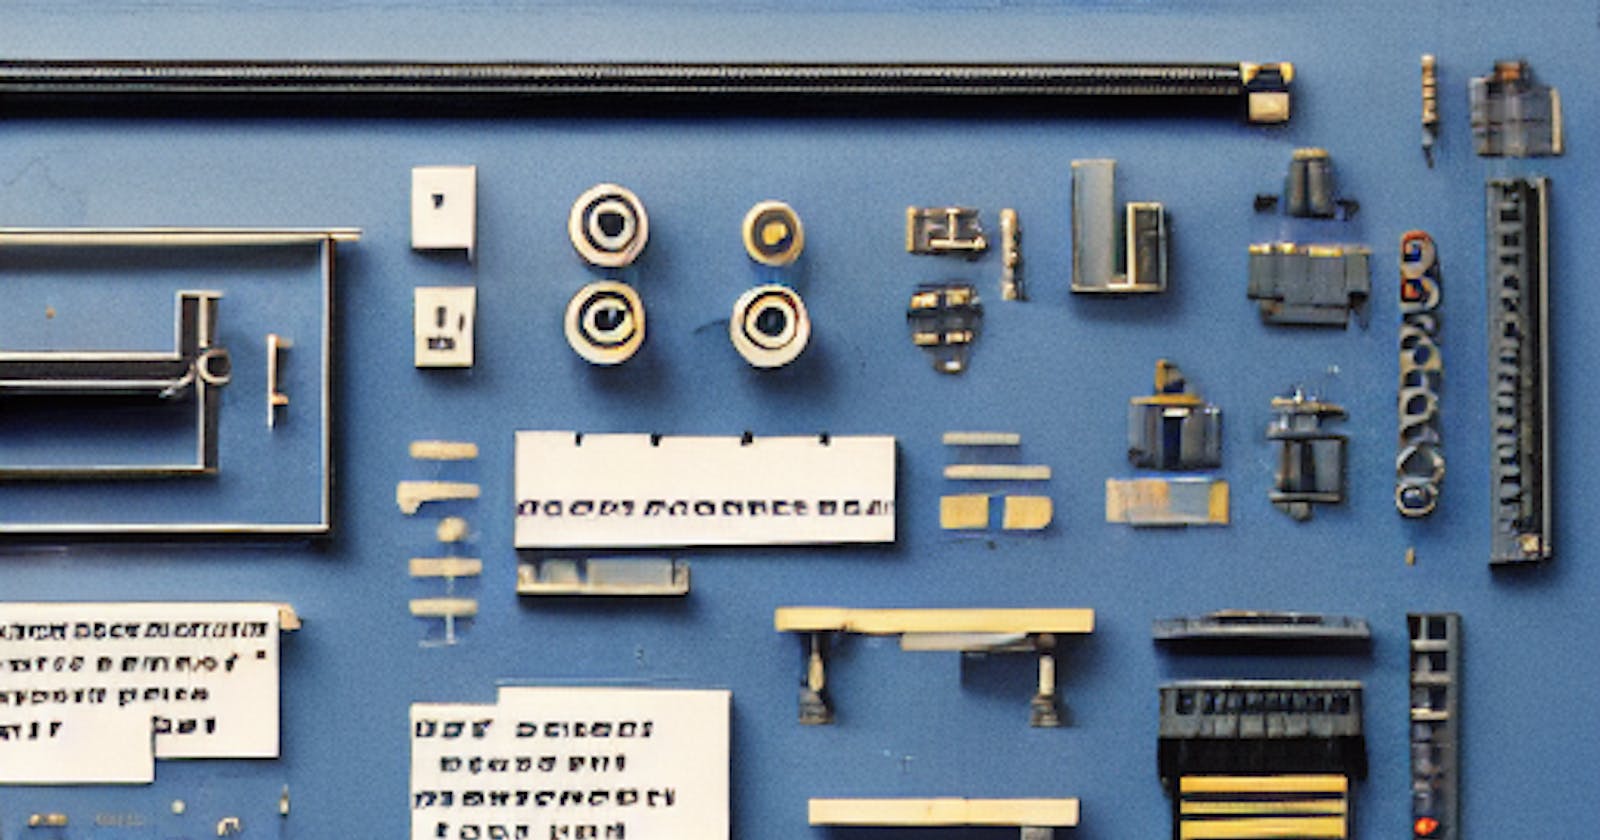
3. Unboxing and Parts Check
a. Inventory: As you unbox, lay out all parts and cross-check with the manual’s list. Ensure no parts are missing or damaged.
b. Familiarization: Familiarize yourself with each part. Understanding the function of each component can simplify the assembly process.
4. Systematic Assembly
a. Step-by-Step: Always follow the manual's recommended sequence. Some parts might need to be assembled before others.
b. Tightening Parts: When joining parts, ensure they're snug but not overtightened. Over-tightening can strip screws or damage parts.
c. Periodic Checks: As you progress, periodically cross-check with the manual’s diagrams to ensure correct assembly.
5. Testing
a. Initial Checks: Before turning the machine on, ensure all parts are secure and in their right place.
b. Dry Run: For power-operated machines, start with a no-load test. This means running the machine without its typical load or function to ensure it operates correctly.
c. Calibration: Some machines may require calibration post-assembly to function optimally.
6. Maintenance and Care
a. Regular Inspection: Periodically inspect the machine for wear and tear. Tighten any loose screws or components.
b. Cleaning: Dust and debris can affect a machine’s efficiency. Regularly clean according to the manufacturer’s guidelines.
c. Storage: If not in use, store in a cool, dry place to prevent damage.
Conclusion
Machine assembly can initially seem daunting, but with systematic steps, proper tools, and an emphasis on safety, it's a manageable task. By ensuring meticulous adherence to the manufacturer's instructions and regular post-assembly care, your machine can have a long and productive life. Remember, the key is patience, understanding, and a methodical approach. If in doubt, always consult the manufacturer or a professional.